So a dear friend of mine recently saw some of the cards I put together for my staff for Halloween, and asked me for a tutorial. They may look super pretty or fancy, but trust me dear friends, if you made it through kindergarten, you can do this.
First I always suggest you gather your supplies. Today I have: 1 sheet of scrapbook paper, black and white stripes, scissors, white glue, a spare 5×7 envelope, paint swatch cards, pencil, rubber stamp, black stamp pad, and scrapbook chips, and borders.
I start by folding the scrapbook paper in half and then placing the envelope on top to size how big I want to make the card. See how the bottoms do not line up. This ensure that when I mark the top of the card, there will be room for it to slide in the envelope easily.
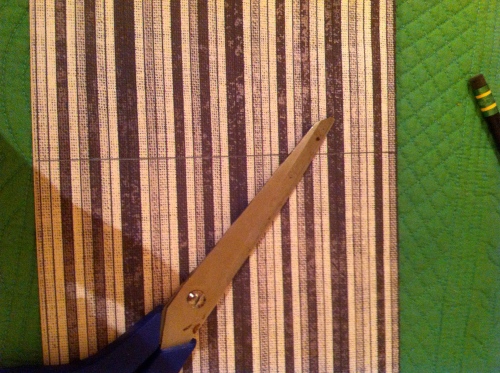
Draw a straight line across the top of the envelope in pencil to cut the top of the card. That way you can also erase a little if you aren’t the best at cutting on the line.
After you have cut the card to the desired height to fit in the envelope, double check that it slides in easily. As you can see here, my card is still too wide to fit the envelope I have chosen. So I will mark the side line of the envelope and cut that as well.
Yay! Now my card fits! And the top of the envelope will close easily. I have made it just a tiny bit more narrow than the envelope so that after I glue the decorations on top it will still close easily.
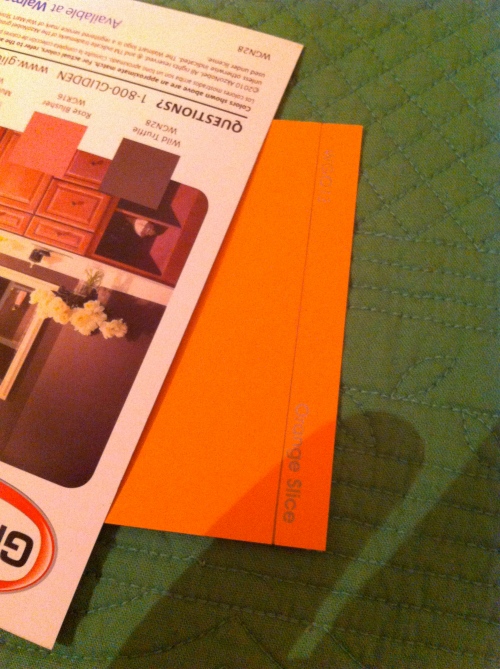
So because this is halloween inspired I need a little orange… Here I have chosen a nice orange slice paint swatch to put in the center of my card. You can also use a different scrap book paper or even construction paper.
Using the top of another paint swatch I drew a line to cut off the top of the swatch which said the color name. Because let’s be honest, who really needs to know that this is a paint swatch you picked up at the store for free.
Cut that bit off the top and using the white school glue, smack it down. I got lucky with using paper with lines on it and was able to just line it up, but you may want to use a ruler.
Now here is the fun part, LAYOUT! As I have already made 10 cards for my staff, I am running low on the fun little chips I picked up for Halloween at the craft store. But I do have this awesome skully stamp! Test out a few positions for each item and decide what you like best.
These chips are double sided. One side with a little glitter and one side is flat. So using just a little glue we are gonna place this on the card. Here you can see I really do mean just a little glue. The nice thing about scrap book papers is that most of them are a little thicker and can handle the glue with out warping.
Now all of my chips are glued down and it is time to double check the placement of my stamp.
Test out your stamp on regular paper first to see how it looks and to make sure you know how much pressure to use on it. The less pressure, the lighter the color of the stamp.
Place the card on a firm surface, and stamp it! You now are complete! And have a fun little card that looks like you put some real work into it and is different than anything you can find in a shop.
I hope you enjoyed my little tutorial and have fun making a few cards for Halloween! Thank you!!


